Installation under CrossOver
capella is installed pretty easily on Mac with CrossOver version 13.1. This works for the current operating system OS X 19.9 (Mavericks) but also for the earlier versions 10.8 (Mountain Lion) or 10.7 (Lion).
You can also install capella scan (from version 8.0-16 on) this way.
With the standard proceeding for any windows software you will be able to get capella running pretty well. However, capella text fields are displayed correctly only if you install the additional module "Microsoft Rich Edit 2.0“. The circle of fifth (insert - key) will look better if you install the module "Platform SDK Redistributable GDI+“.
Step by step:
- Install capella
- Install "Microsoft Rich Edit 2.0“
- Install "Platform SDK Redistributable GDI+“
- Install capella-scan
- Special features of Mac keyboards
Installation of capella
Install and start CrossOver. This display will appear:
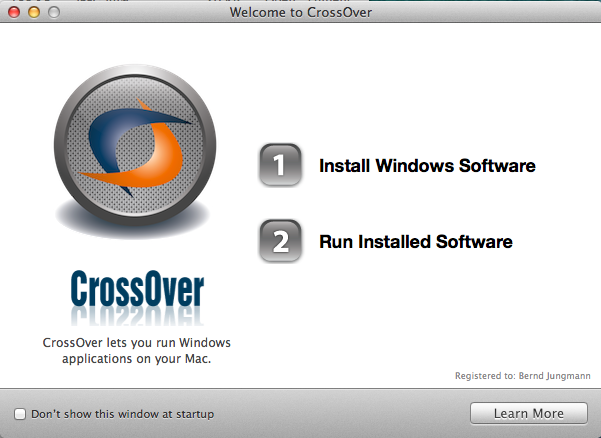
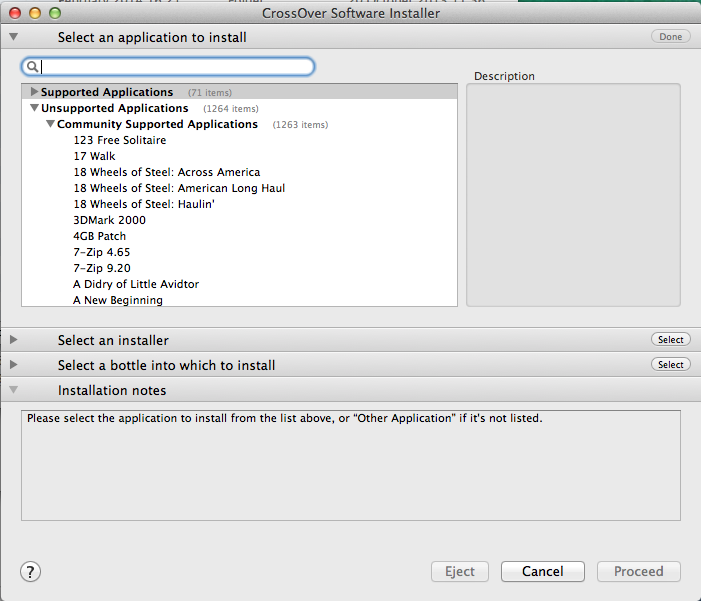
Select "Install Windows Software" and then “Unsupported Application - Other Application”.
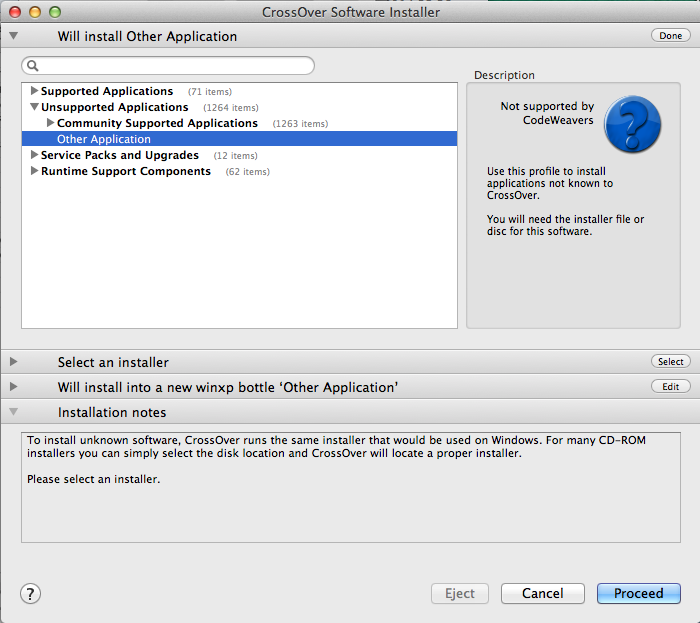
With “Select an installer” open the selection for an installation package:
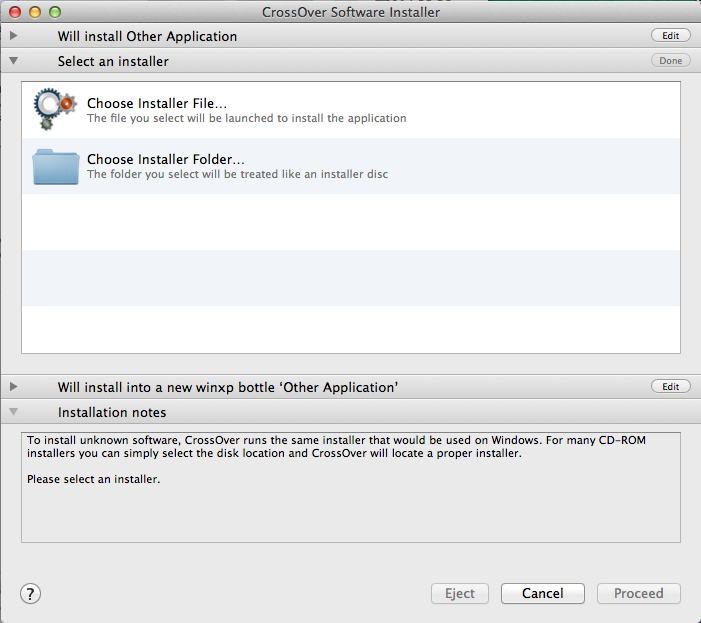
After clicking on "Choose Installer File...“ a finder window appears where you can select the installation package downloaded from capella-software. Afterwards ths CrossOver window will look like this:
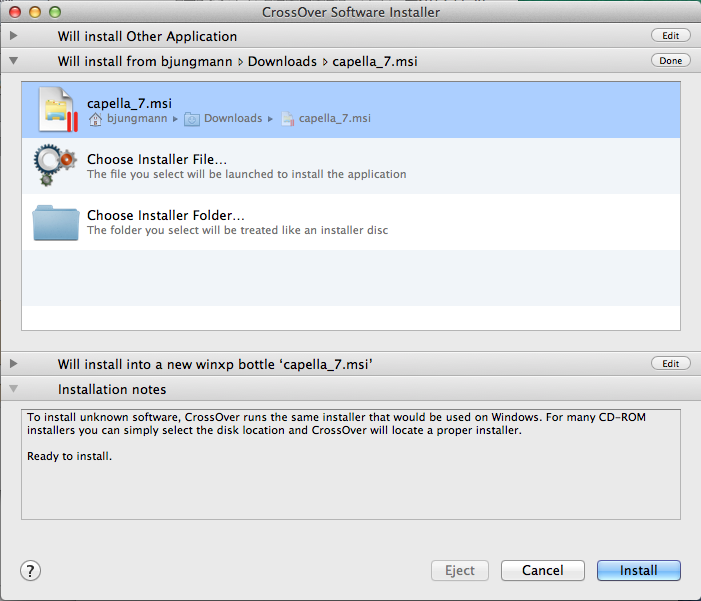
Click on "Install“. This way, capella will be installed into a new "bottle" which automatically receives the type "winpx" and the name of the installation file. The two parallel red lines in the file symbol appear because on our computer, Parallels Desktop is installed as well and files with the ending .msi are registered for Parallels Desktop.
Next a progress bar will appear and shortly after this you will see the capella installation window you know from Windows:
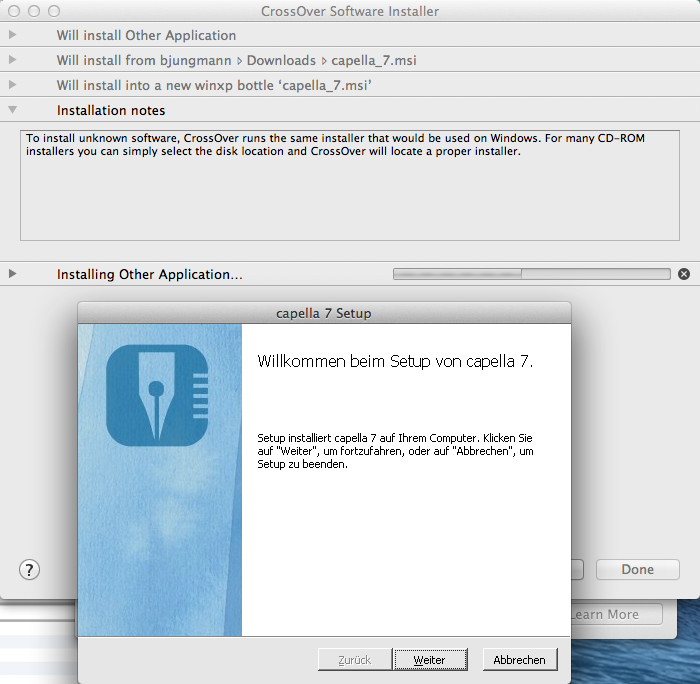
As in Windows, click on "Next" and follow the installation assistant.
Don't be confused by the following image where you determine the disk location:
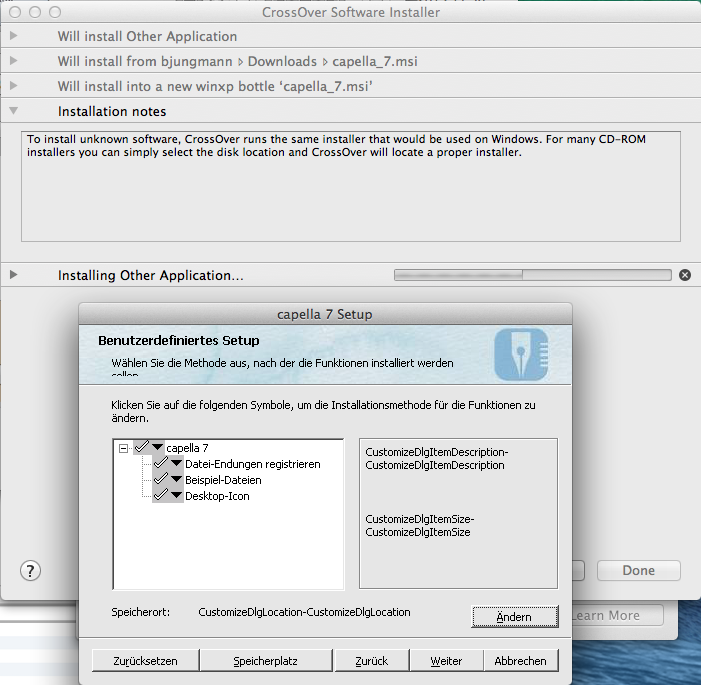
The text "CustomizeDlgLocation-CustomizeDlgLocation“ is not correct, but this does not matter. Accept the suggested disk location.
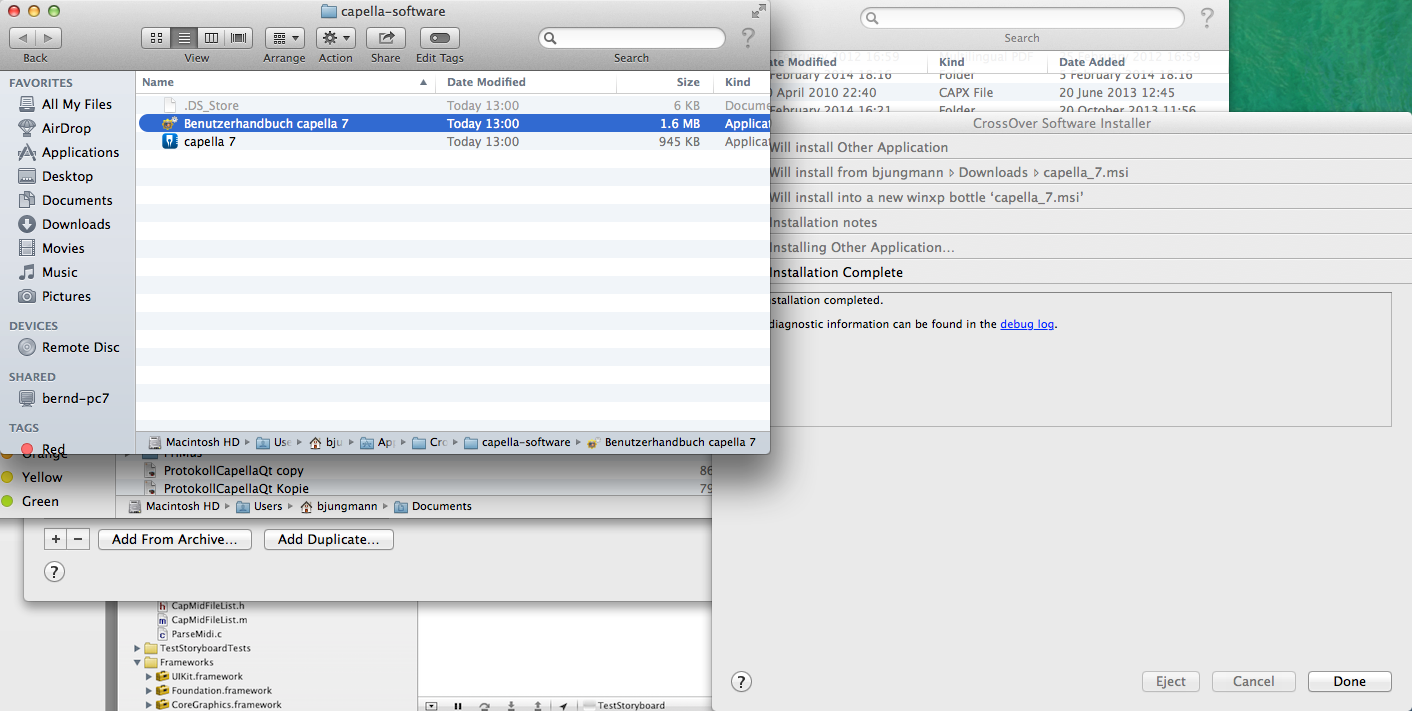
When the Windows installer assistant was ended, CrossOver will create a new finder window where the installed program will be found and can be opened by double-clicking it. Before, you should have ended the CrossOver installation procedure with clicking on "Done". Also, you should install two more modules: The improved Rich-Text support (otherwise capella will not be able to display text fields) and the GDT+ library (which makes the circle of fifth - when you select a new key - look a lot more precise).
Installation of „Microsoft Rich Edit 2.0“
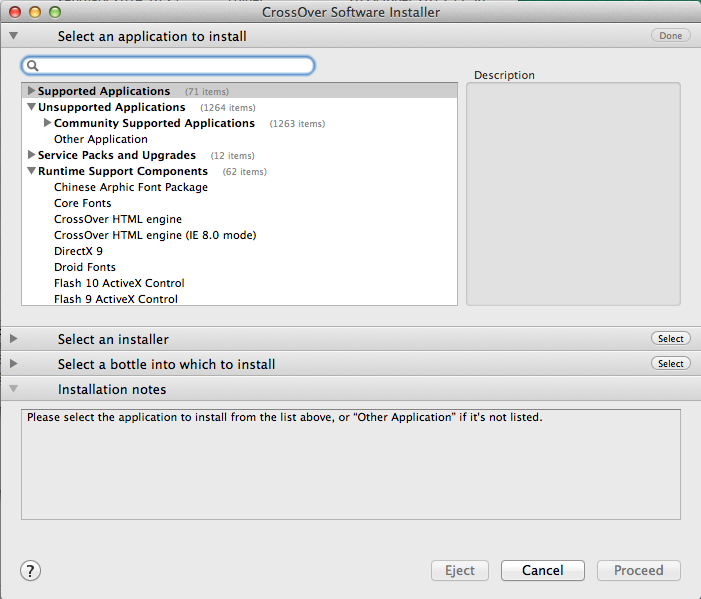
For installation of Rich-Text support again select "Install Windows Software“ and open "Community Supported Applications“:
Scroll down and select "Microsoft Rich Edit 2.0“:
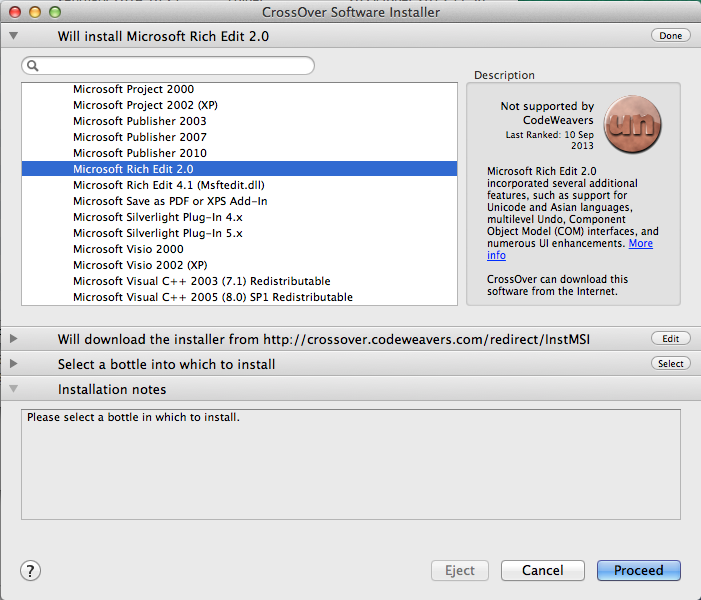
Accept that CrossOver downloads the software from the Internet and additionally select the bottle of capella:
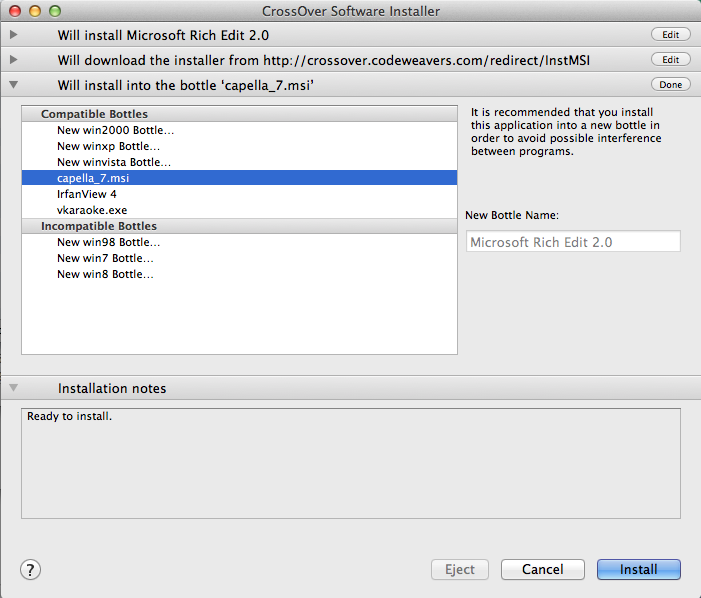
Click on"Install“ and later close the installation procedure with Done.
Installation of „Platform SDK Redistributable GDI+“
For installation of the GDI+ library again select "Install Windows Software“ and then open "Runtime Support Components“:
Further down in the list select "Platform SDK Redistributable GDI+“:
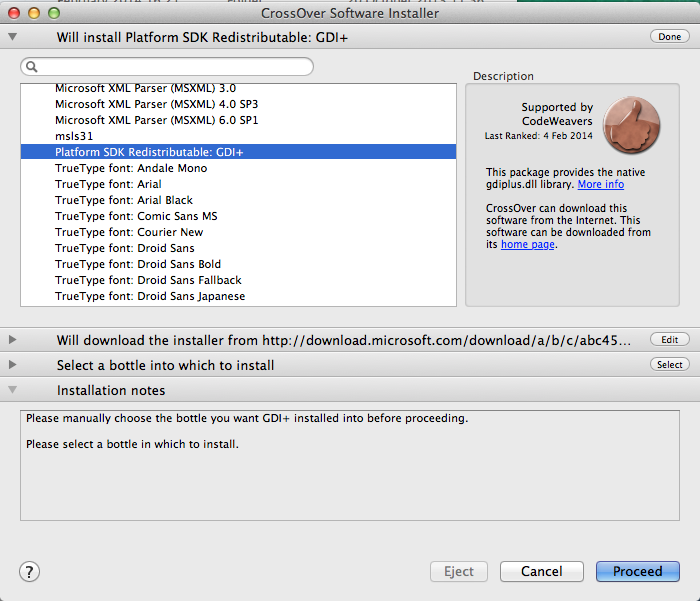
Again you have to select the capella bottle:
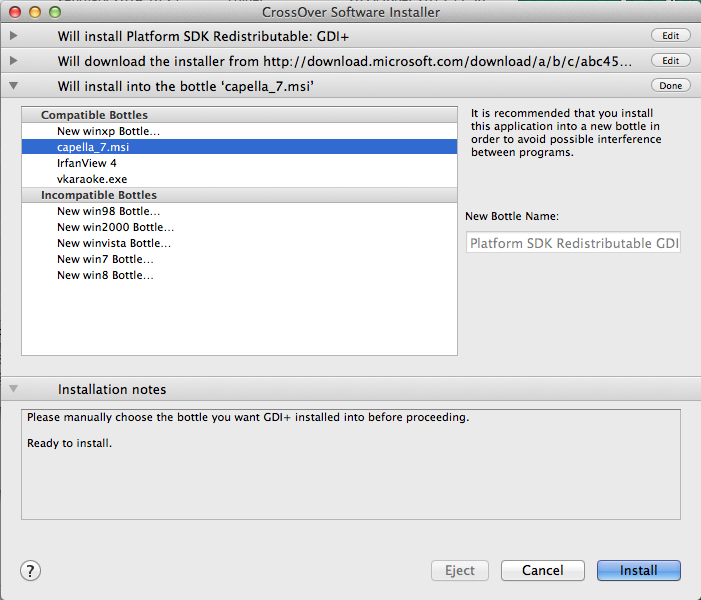
Now you can start download and installation with "Install“:
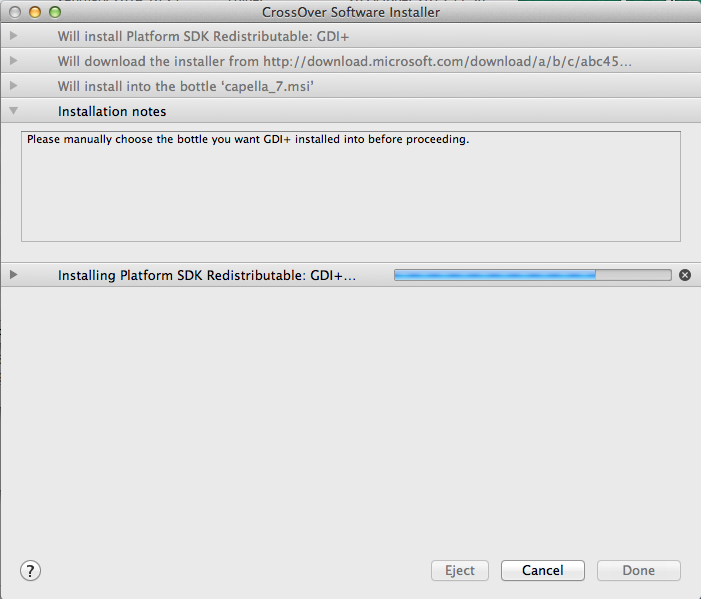
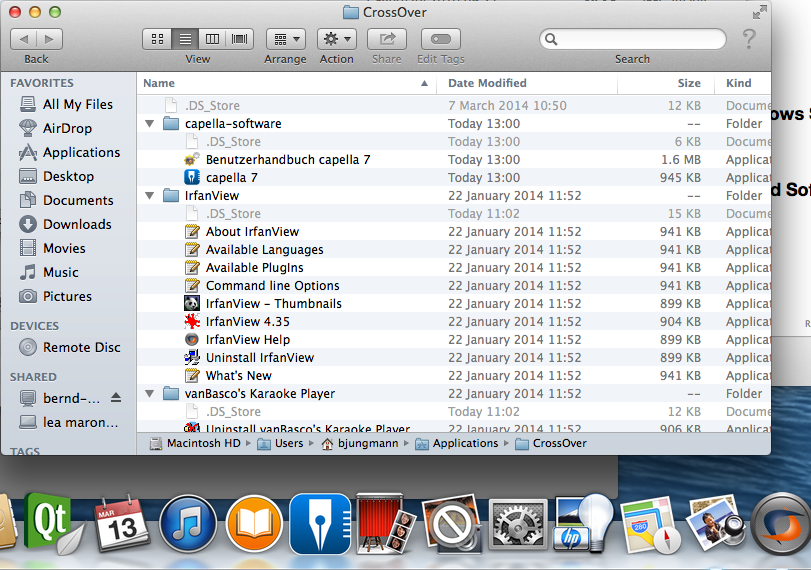
Close the installation with "Done“ and select "Run Installed Software“. A finder window will appear where you can finally open the program by double-clicking on capella.
To make starting the software easier, we recommend to drag the capella symbol from the finder window to the dock. Then you can start capella later one just like any other Apple Macintosh software.
Installation of capella-scan
Proceed as with capella, but do not select the suggested new XP bottle but choose the same bottle as for capella. Then you can automatically have files opened in capella by saving them in capella-scan. Also, each later change in the file can be directly taken over in capella. This is like you are used to from Windows.
Special features of Mac keyboard
Rules applying for the Apple keyboard under CrossOver are slightly different from those applying to Parallels. Generally, all allocated keyboard combinations in the Apple operating system have priority. Thus working in capella with the keyboard is slightly restricted.
| PC key | Apple key | Comments |
|---|---|---|
| Strg | ctrl | Ctrl+C, Ctrl+V and Ctrl+X serve the clipboard within capella, while otherwise the clipboard on Mac is served with cmd+C, cmd+V, cmd+X. "Mark all" works with Ctrl+A and not with cmd+A like usual on Mac. |
| Alt | cmd ( ) ) |
Under Windows, the Apple key activates the menu control with the keyboard (underlines for keyboard short cuts become visible). Underlines with menu commands are always visible under CrossOver. |
| AltGr + ß (\) | Shift + alt + / | \ |
| AltGr + 8 ([) | alt+5 | [ |
| AltGr + 9 (]) | alt+6 | ] |
| alt+( | { | |
| AltGr + 0 (}) | alt+) | } |
| AltGr + < (|) | Shift +alt+/ | | |
| AltGr + Q (@) | ctrl + alt + L (or right alt + L) |
@ |
| Insert | ? no alternative found so far ? | Used in capella for Chord mode on/off |
| Scroll Lock | ? no alternative found so far? | Used in capella for Mouse Click Note Entry on/off |
| Context men (beside right ctrl key) | ? no alternative found so far? | |
| F1, F2, …, F12 | F1, F2, …, F12 | All function keys do not work for capella |